Now that we’ve helped you successfully apply your vinyl lettering, you may need to know how to remove it. Whether you’ve changed something, bought something new, or you’re just done with your decals, removing your vinyl lettering can be a quick and easy process, but there are some important things to know beforehand.
Factors to Consider
Location
Where is the vinyl lettering applied? Glass, painted wall surface, metal, and plastic surfaces are common placement sites. Your location will affect how you remove your lettering. If you’ve got vinyl on a glass surface, you won’t have to worry as much about denting, scratching, or marring the glass. However, if you’re removing your vinyl lettering from an interior wall, make sure that if you need to use an adhesive remover it’s safe for your surface. If the vinyl lettering is on a painted wall, be sure to move slowly and follow the steps below to ensure minimal damage.
Elements
Along with location comes weather elements. For example, if you are trying to remove vinyl lettering that has been on the outside of a glass door for a long period of time, the vinyl might have become brittle and could be a bit more difficult to remove. This is where a heat gun and adhesive remover can come in handy. For interior surfaces that don’t see much sun, removal can be easier and require less equipment.
Age
If your lettering has been there for a while, it might break into pieces when you remove it. This might take you some more time and effort, while lettering that hasn’t been there for long can sometimes be removed quickly and easily in one piece with little to no residue left behind.
Now that you’ve assessed your vinyl lettering, get your supplies ready.

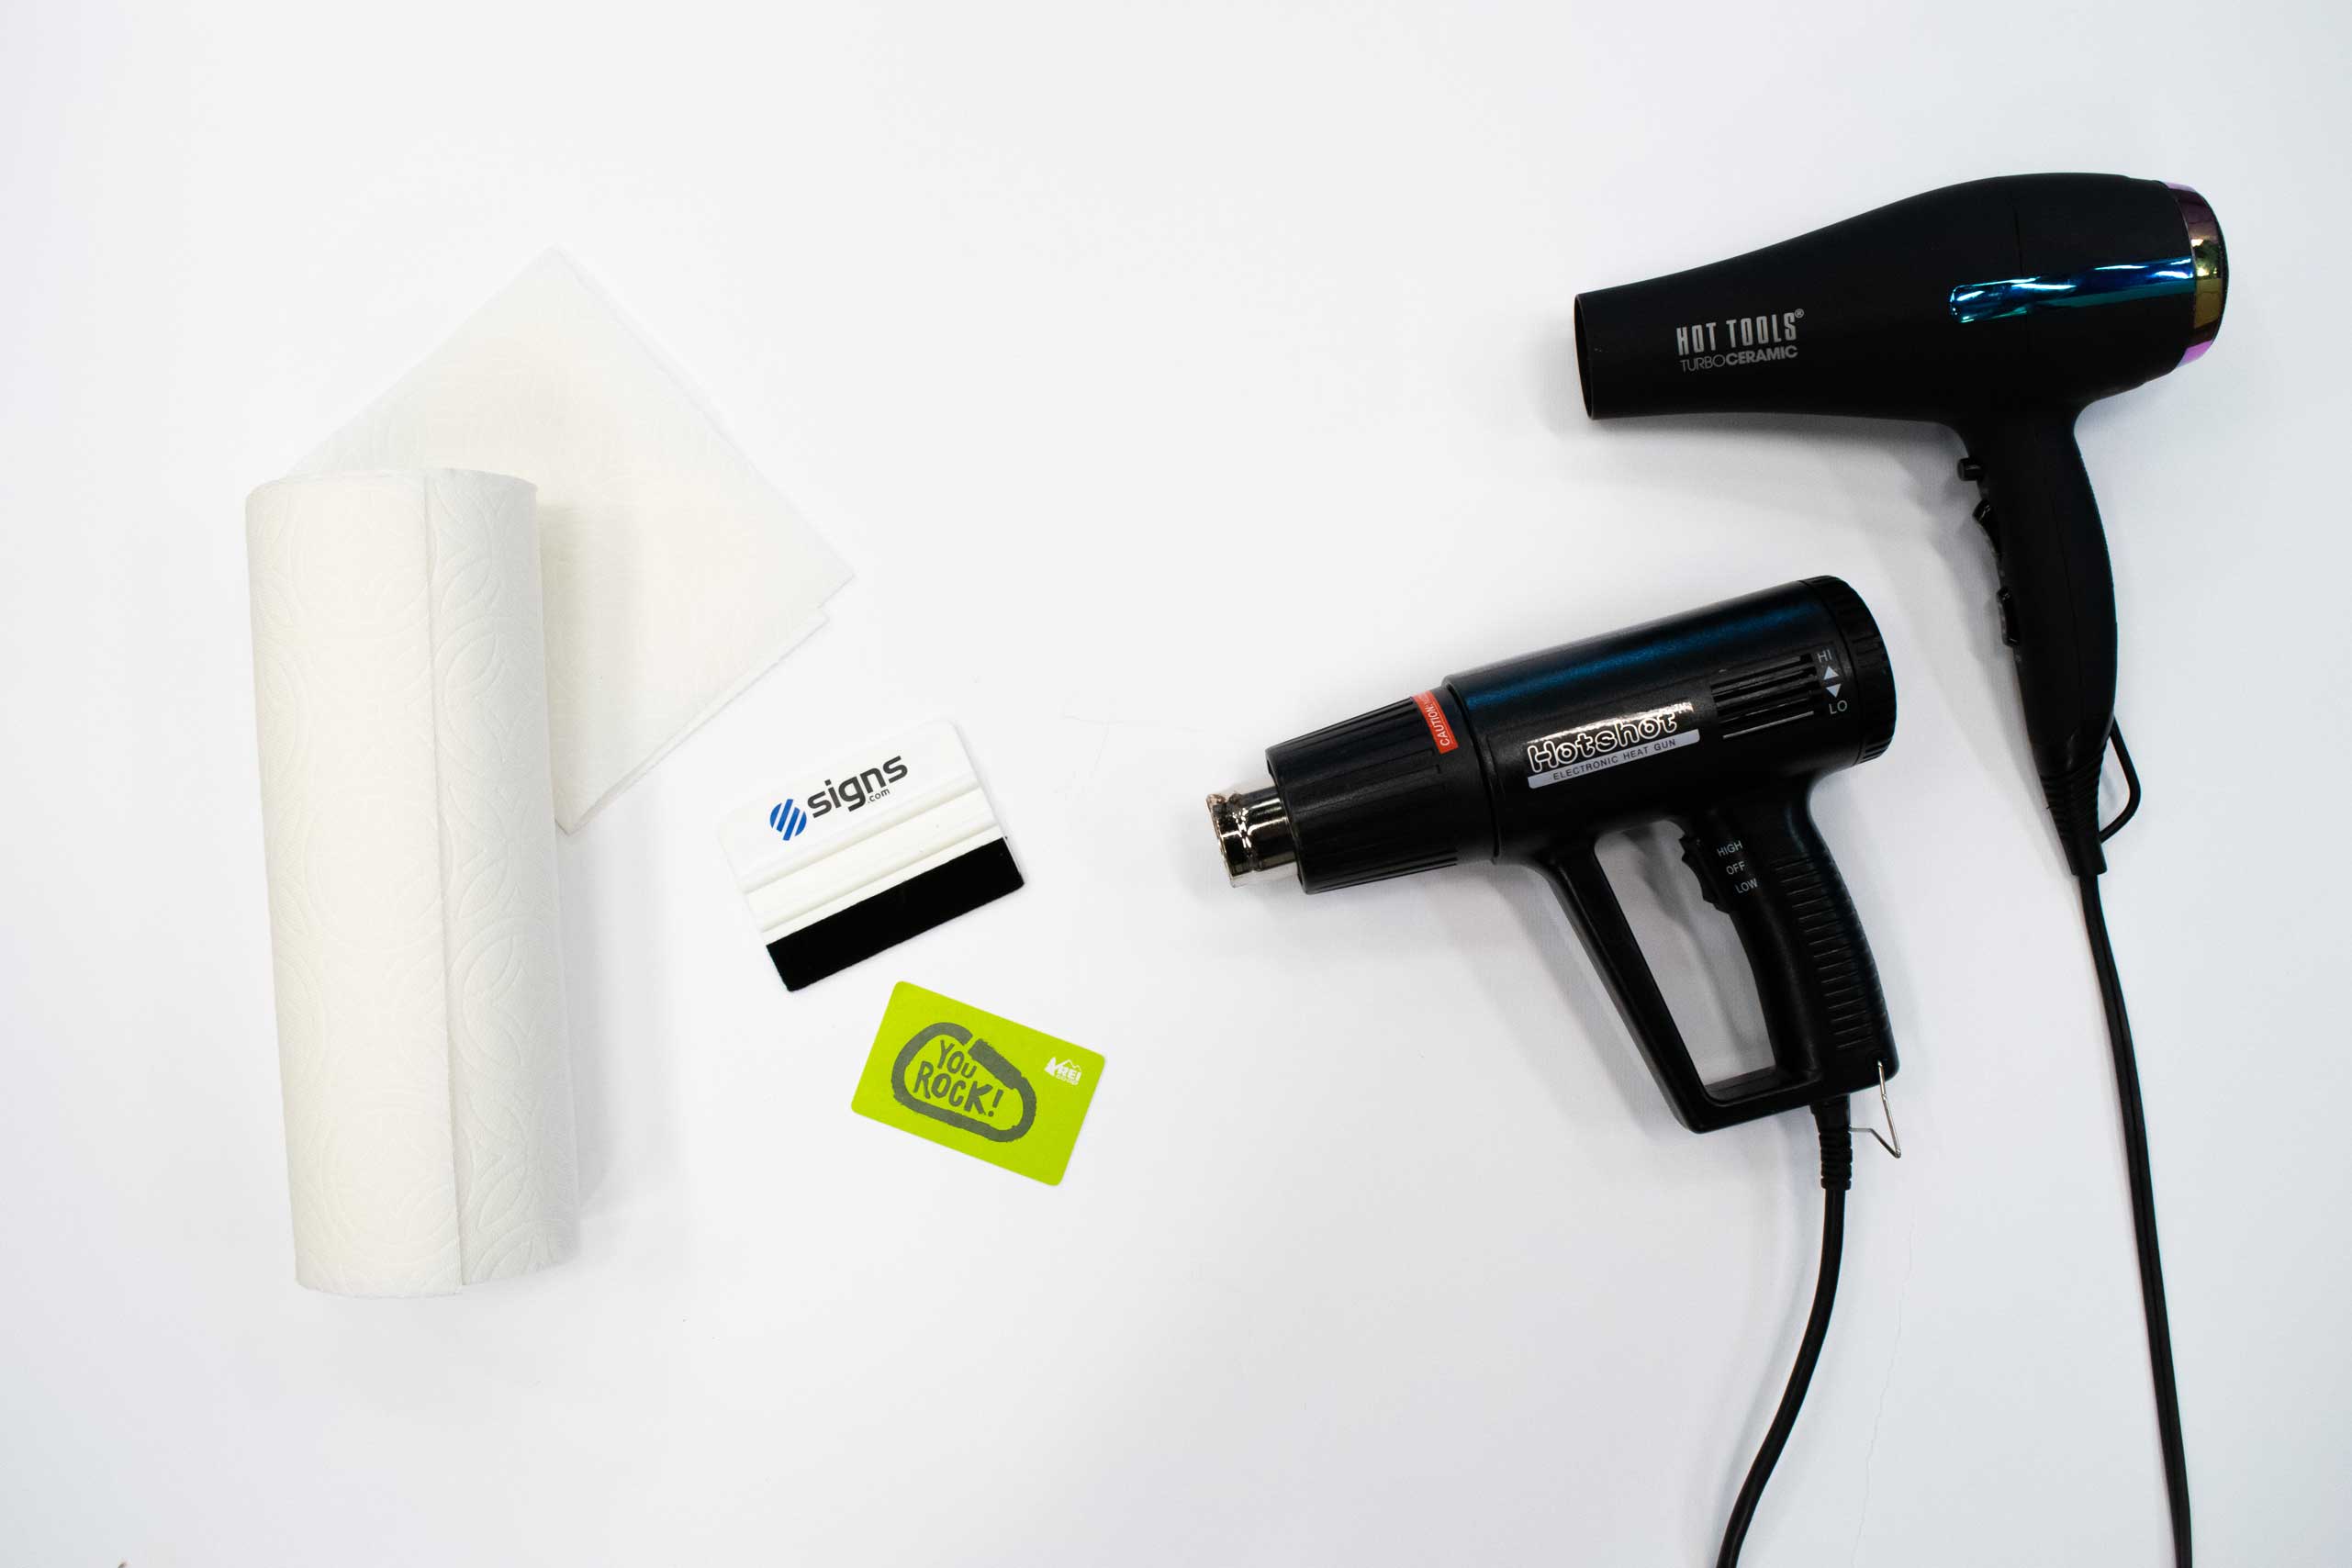
What you’ll need:
- Plastic chisel or credit card
- Warm, soapy water
- Heat gun or blow dryer
- Adhesive solvent

Step 1: Get under an edge
This is where your credit card or plastic chisel comes in. Use your card or chisel to get underneath the vinyl lettering so you’ve got a corner or edge to hold on to. Be careful to keep your card at an angle, as you can potentially dent or damage softer surfaces like painted drywall. You’ll want to take extra caution with sensitive surfaces. Consider how easy it is to dent the wall, even with your fingernail. For older painted surfaces, you can even peel up the paint, so assess first before you potentially ruin the wall during removal.

Step 2: Slow peel
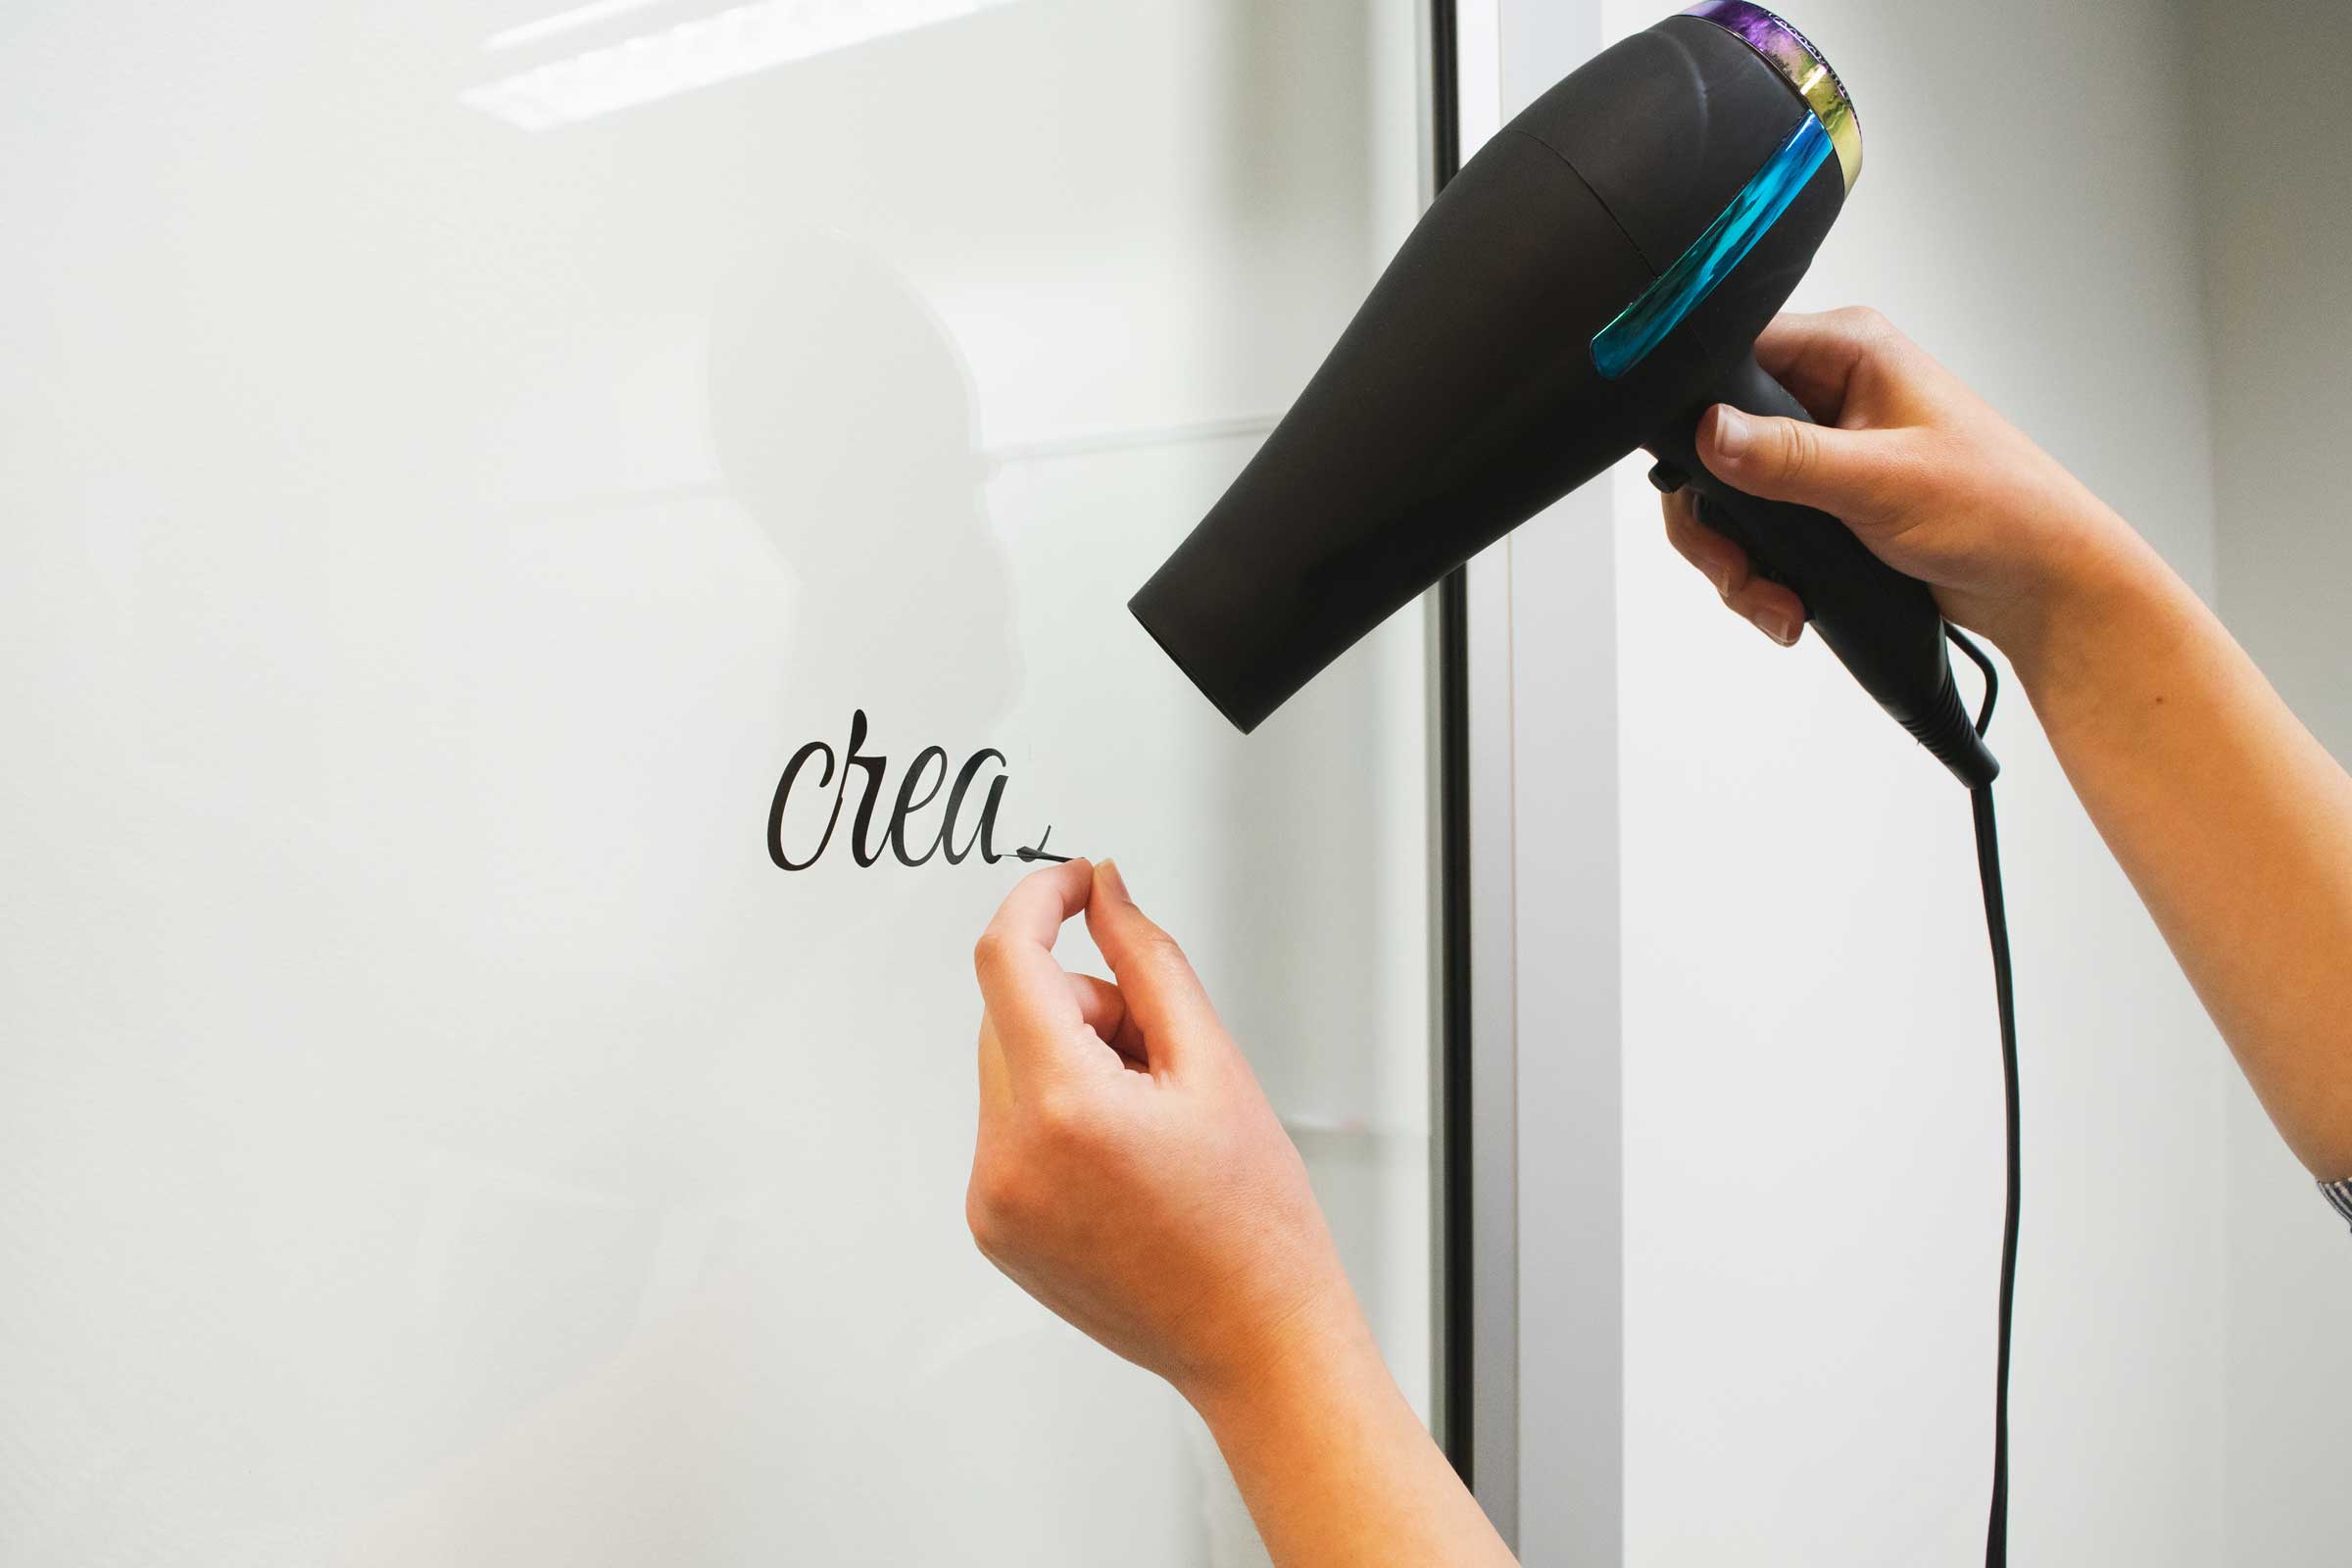
Once you’ve got enough of the vinyl peeled up with your card, grab it with your fingers or some tweezers. Peel back the vinyl with slow, even pressure. If removing from a softer surface, such as painted drywall, you may want to apply pressure to the wall around the vinyl while removing to offer additional support. This can help prevent the paint from peeling. Depending on the condition of the vinyl, you could have some tearing, and if so, try the next step.

Step 3: Heat (If necessary)
It’s not always necessary, but applying just a little heat can make the process much quicker and easier. Using a heat gun or a hairdryer, heat your vinyl lettering enough to make it warm and somewhat malleable. This will loosen the adhesive and make it easier to remove the vinyl.

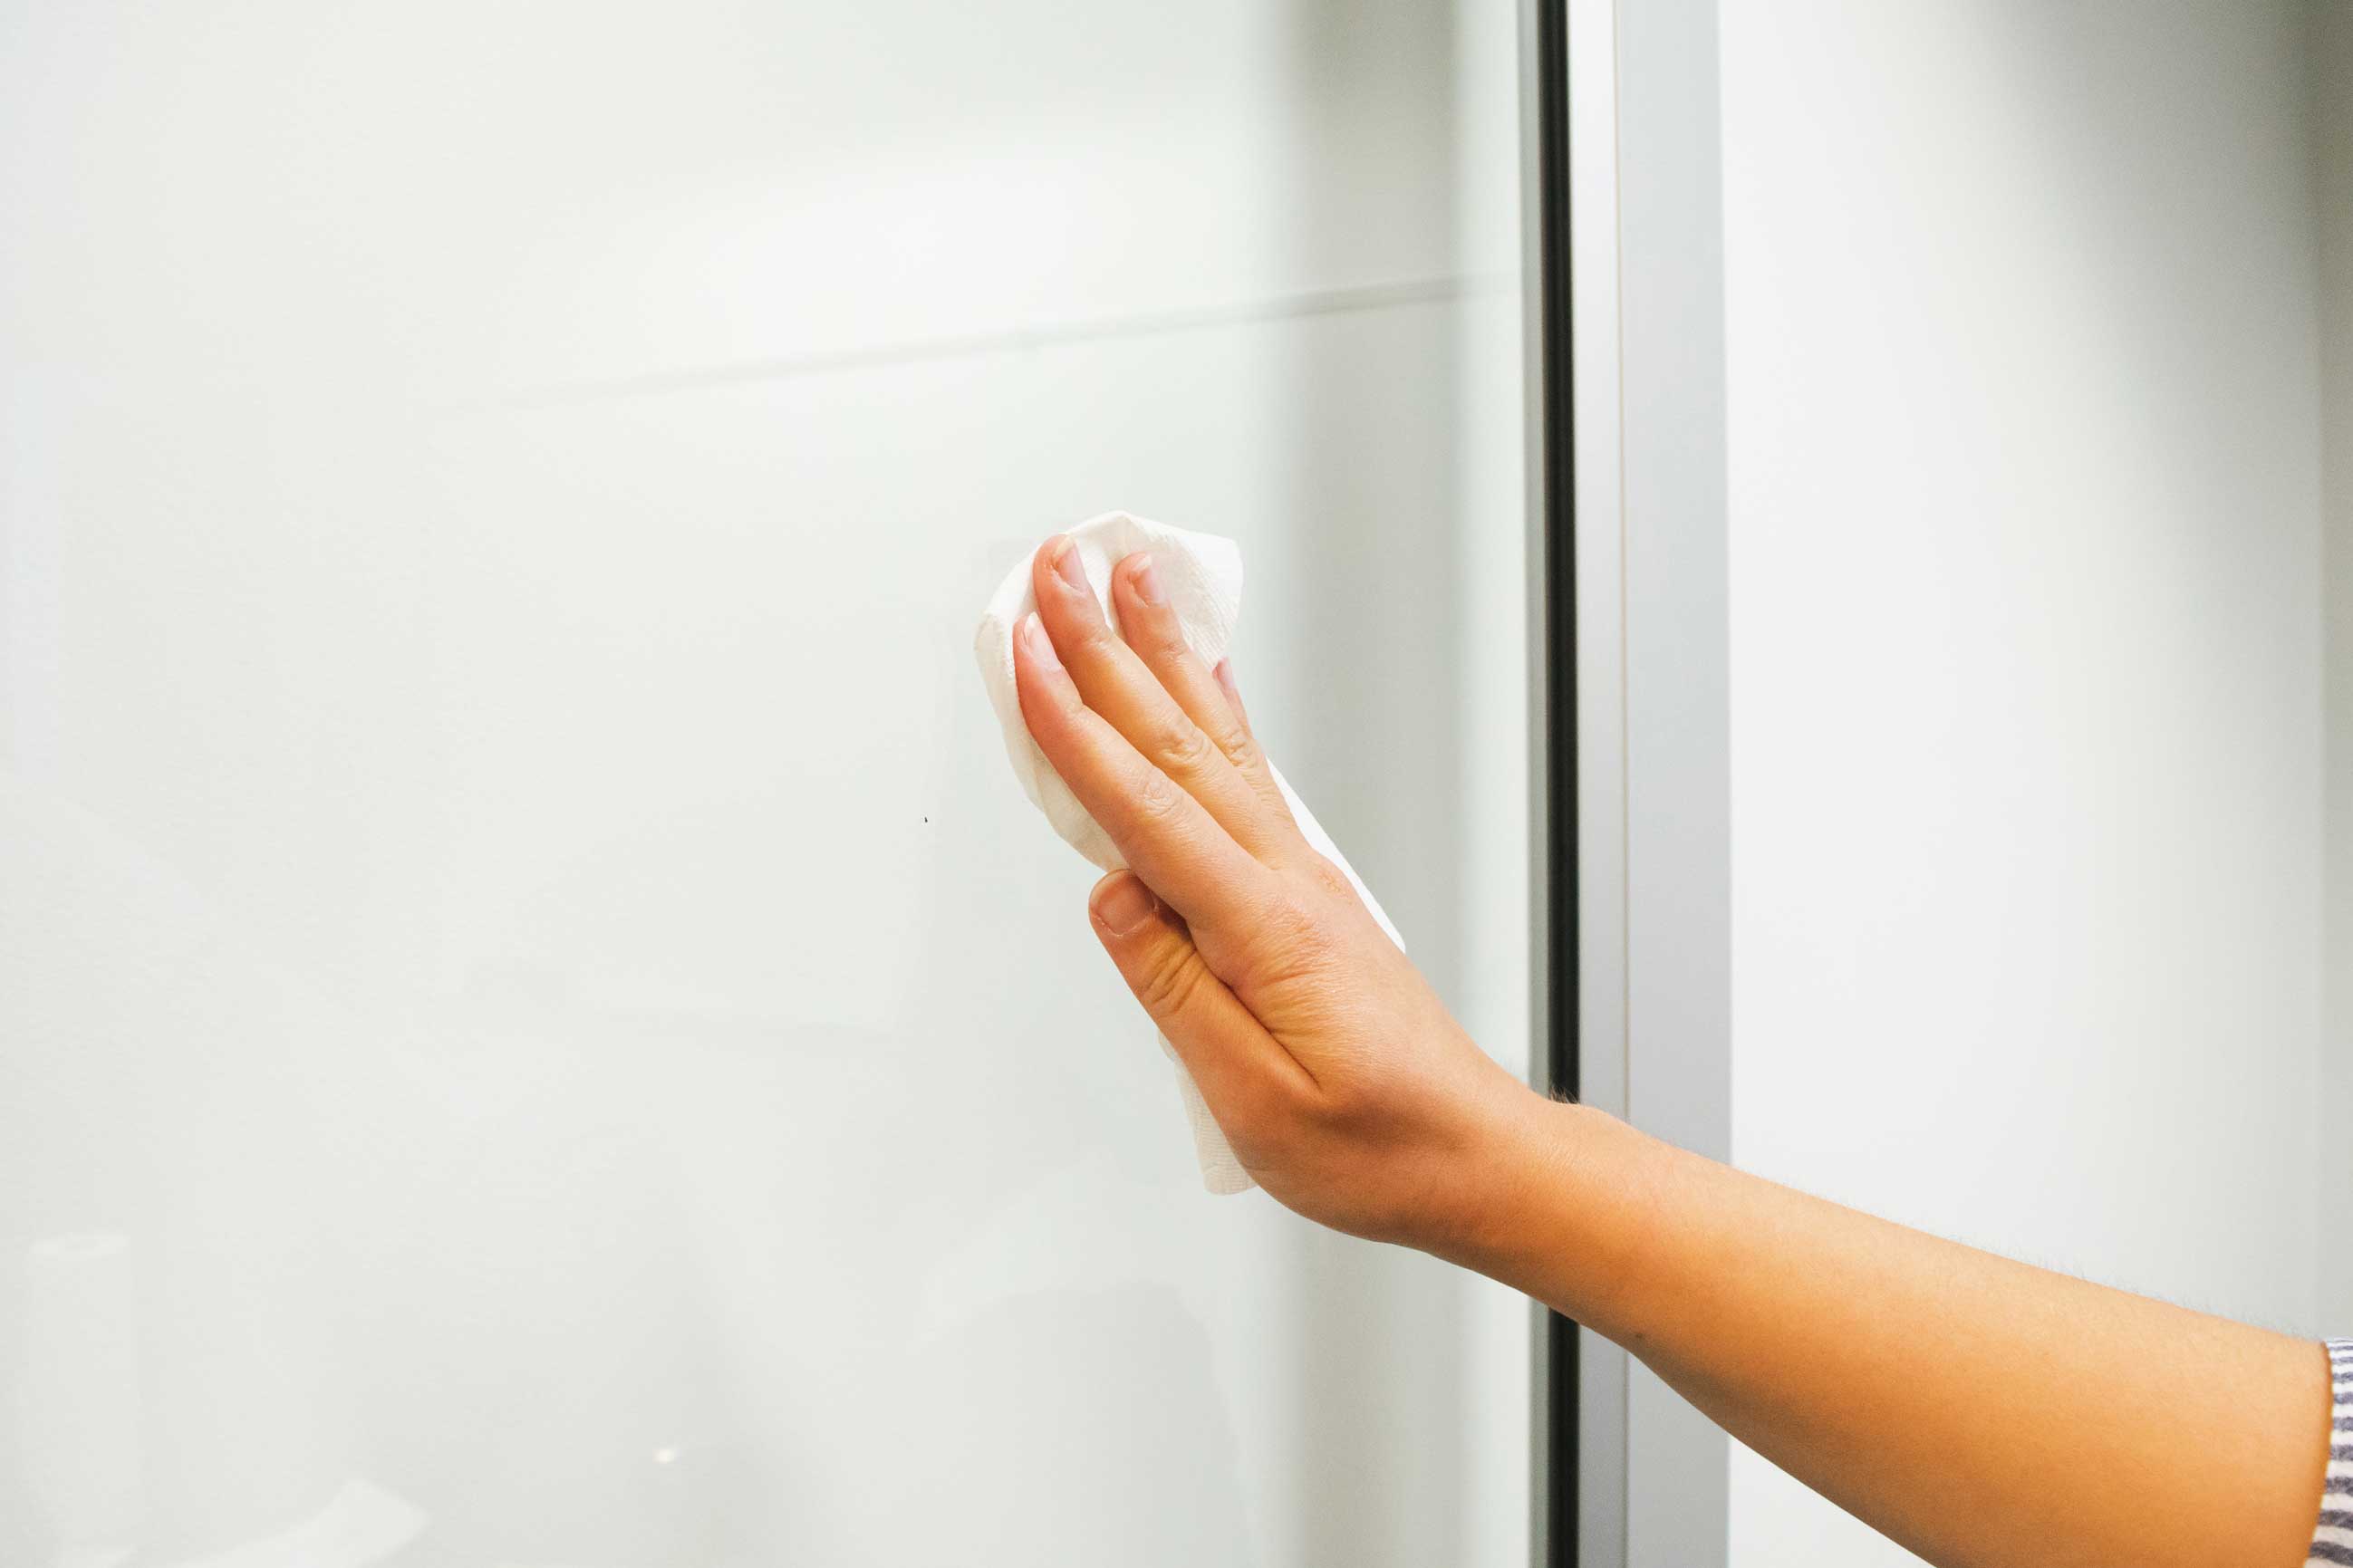
Step 4: Remove any leftover residue
There are many different kinds of surfaces and adhesives used in vinyl lettering, and this will affect whether or not you have residue leftover after you’ve removed all the vinyl. Depending on the type of adhesive, you can use friction, warm soapy water, or a stronger solvent. We recommend starting with friction. Sometimes the residue will come off by simply rubbing it with your finger. If that doesn’t work, move on to soapy water or a stronger substance.
Following these steps will make removing vinyl lettering a breeze. Be sure to take care, and don’t rush the process. A slow and even pull will remove much better than a strong fast pull. Make sure your surface is clean and dry before applying any other vinyl lettering. You can find more information about application here.
From https://ift.tt/2H0fTCQ, find us on maps: https://bit.ly/31tHUKW
No comments:
Post a Comment